
Many quilters feel intimidated by Foundation Paper Piecing, but it’s not as difficult as it looks. The key, as with most things, is to move slowly, with precision, and to be mindful of each step. Foundation Paper Piecing renders laser accuracy because you’re piecing together unusual shapes in multiple sizes and sewing right on the line! No quarter inch seam allowance required while sewing!
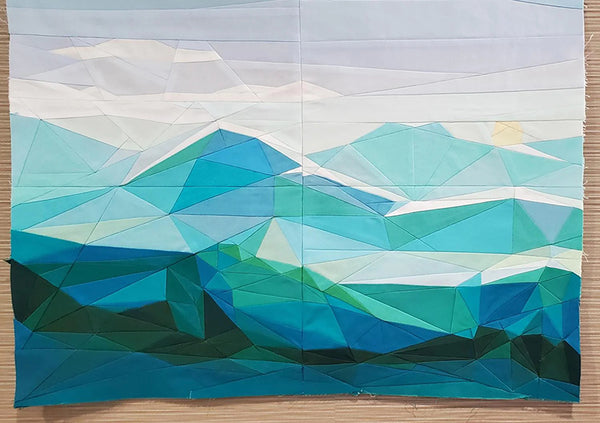
The above Hazy Hills Wall Hanging from Legit Kits exemplifies the beautiful, precise quilting that can be achieved with Foundation Paper Piecing. If you’re familiar with the technique, we’re hosting a class to make Hazy Hills later this month. If you’re unfamiliar with Foundation Paper Piecing, the rest of this blog is for you!
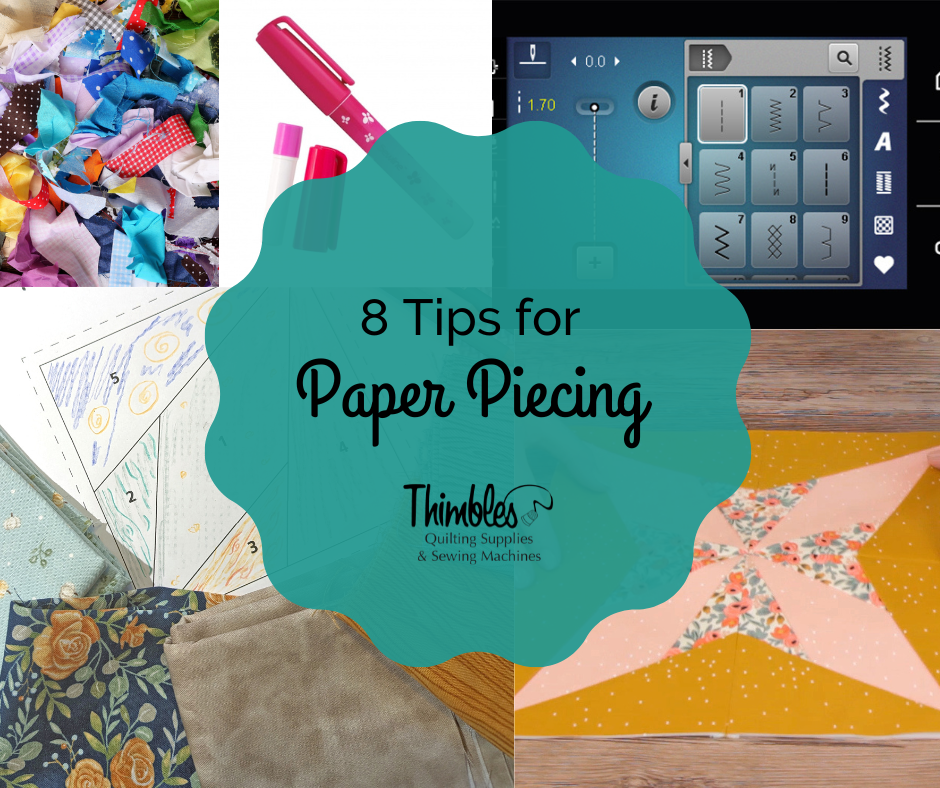
Today we’re highlighting 8 of our top tips for Foundation Paper Piecing!
Start Easy & Small

If you’re feeling super confident about your quilting skills, go ahead and sign up for Hazy Hills. However, we’d strongly recommend starting with something smaller and more approachable. Think fewer pieces and larger, simpler shapes. WeAllSew has a great, beginner-friendly star block pattern tutorial that includes lots of great tips for working your first foundation paper piecing project.
Choose Paper Wisely
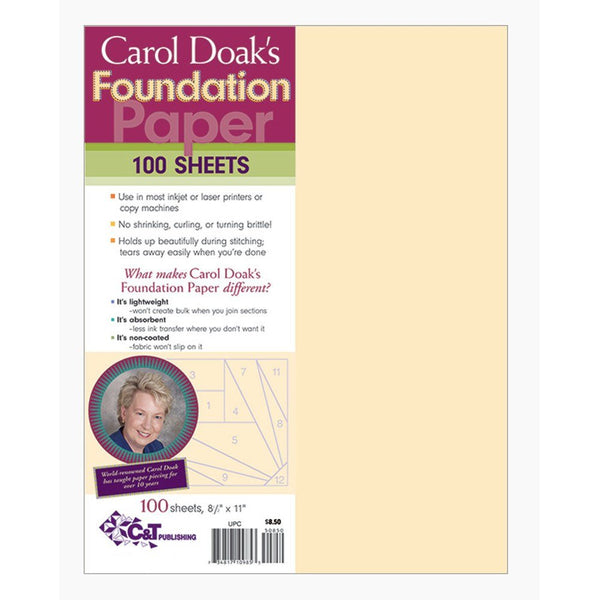
While you can use regular printer paper when paper piecing, a good, thin paper designed for the technique is best. You want to aim for a thin paper that is easy to tear away. Carol Doak’s Foundation Paper won’t transfer printer ink to your project, is non-coated so your fabric stays in place when placed against it, and is thin and lightweight, so it tears easily and doesn’t create lots of bulk as you’re joining sections together.
Print at Actual Size

If you need to print pattern pieces from the computer, remember to adjust your printer settings. Most printers default to print at the “fit to page” setting. Check that your printer is Set to “100%” or “Actual size” to ensure your paper piecing pattern prints at the actual and correct size.
Add your Fabric Colors to the Paper Pattern
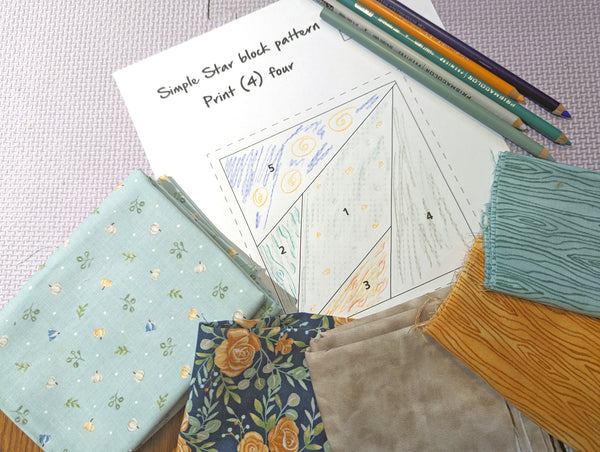
Color coding your paper piecing pattern based on your fabrics will make it a lot easier to keep track of which fabric belongs to which section of your paper piecing. Assign a color to each fabric and then grab some colored pencils or crayons and mark up your paper accordingly.
Wrong Sides Together

When aligning your piece of fabric and paper piecing template, remember to marry them wrong sides together. Place your fabric pattern side down so the wrong side is showing, then place your paper piecing template over it with the pattern showing on top. The wrong side of your fabric should be aligned with the wrong side of the paper. It may be helpful to do this in front of a window or a strong light to see exact placement.
Cut Big, Cut Smart

Cut fabric pieces a bit larger than the pattern and with ¼” seam allowance included. Those afraid of wasting a little fabric may feel triggered by paper piecing. Waste not, want not has its place, but it’s not in paper piecing. If you want not to redo cutting pieces for your paper piecing pattern, be generous in the first cut.
Many FPP patterns have outer lines that include a seam allowance—see the dotted line in the WeAllSew Simple Star block pattern above. If the pattern doesn’t have a seam allowance, include one when you’re trimming the printed pattern. Just use your ruler to measure a ¼” around and cut along those lines.
Use Glue to Secure Fabric and Paper Together
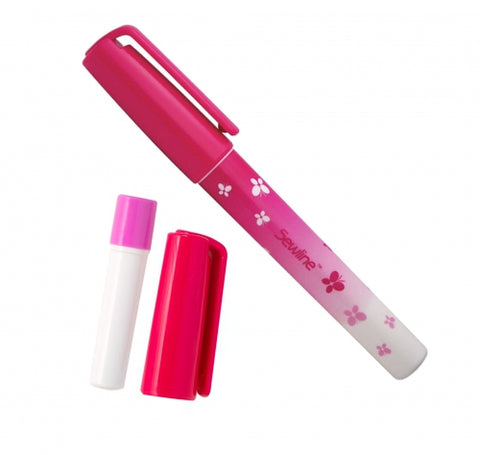
While you can use pins to secure your fabric to your paper, depending on the pattern, you might wind up having to work around a lot of pins. It’s much easier to use fabric glue or any fabric-safe glue. It’s also a lot faster! We like the Sewline fabric glue pen. It dries clear and it’s water soluble.
Decrease Stitch Length

Decrease your stitch length to between 1-1.8 to make it easier to remove the paper from the fabric. The shorter the stitch length, the more stitches there are perforating the paper, the easier it is to tear away. It will also prevent you from ripping out seams when you remove the paper, because the shorter stitch length makes for stronger stitches. In terms of range, opt for a higher end stitch length for larger, longer pieces, and the lower stitch count for smaller, shorter pieces.
Do you already love foundation paper piecing? Do you have a favorite tip we didn’t cover? Let us know and tag @thimblesquilts on Facebook and Instagram in all your FPP adventures!
Like this post? Pin it!